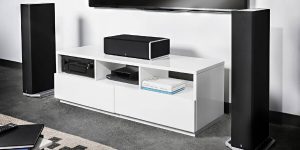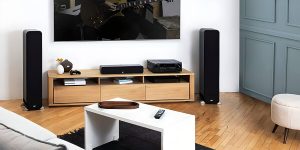
So, you are the happy owner of a home entertainment system, and you have chosen a decent brand with reliable features and cool functionality. It seems you have done everything to ensure that you can enjoy your favorite content for a long time during pleasant family evenings. Suddenly, you discover that one of the channels on your receiver (the “brain center”, so to speak) is not working. What should I do in such a case? First of all, follow the rules of audio equipment operation and perform regular technical maintenance. And second, this article will help you solve this problem (if it is not too serious) without calling a technician. Don’t panic, and let’s find out what’s wrong.
The correct definition of a blown channel

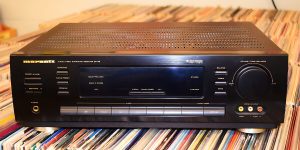
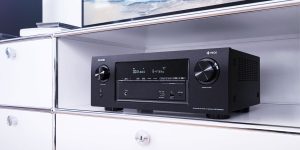
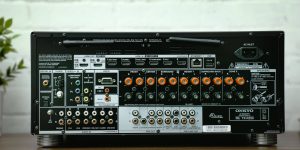
To determine which channel of your receiver is damaged and not transmitting a signal, try the following steps: First, check the indicator light on the receiver; if the sensor is not lit, it means the channel is not working. Next, you can connect a working sound source, such as a turntable (if your model has a corresponding input), to the receiver input and play the sound by listening to each speaker separately. The sound in burned-out channels may have distortion, crackling, or no sound. Try swapping the left and right speakers; if the problem is with the receiver channel and not the speaker, the altered sound will come from both speakers or disappear completely.
Another common problem is a blown fuse or improper wiring of the entire home theater system. Check your receiver settings and make sure it is set to the correct number of speakers and that all configurations are balanced; if the problem persists, you can use a test signal generator or multichannel test disk to diagnose the problem channel and troubleshoot specific problems using test tones.
How to properly repair a blown channel: step-by-step guide

Fixing a blown channel is not easy for a user with no experience with electronics, and sometimes, it is better to seek help from experts. However, if you believe in yourself and want to try fixing it, my guide will help you.
Step 1. For your safety, disconnect the receiver from the power source and determine which channel is not working (previous article section).
Step 2. Be sure to consult the service manual for your specific receiver model for detailed information on internal components, schematics, and troubleshooting procedures.
Step 3. Open the receiver case and inspect all components, circuit boards, and soldered connections. Look for visible damage or burned-out components, loose connections, or damaged wiring. If the fuses on the amplifier board or power supply board are blown, replace them with fuses of the same type and amperage. Do the same for capacitors if they are the problem. If you find damage that requires disassembly and reassembly by soldering, and you don’t have the skills to do it, don’t hesitate to call a professional who knows how to fix a blown channel on a receiver.
Measures required for preventing blown channels in the future

The possibility of your AVR failing in the future can be prevented early by practicing simple techniques for proper equipment use and maintenance, and here are some very useful tips:
- Try to buy quality cables and connectors.
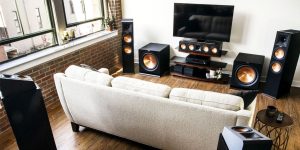
- Make sure your speakers match the impedance requirements of your receiver, and do not overload your receiver with too many speakers.
- Remember that you may need a voltage stabilizer if you live in an area with frequent power surges.
- Do not place the receiver near a heat source or in an enclosed area with inadequate air circulation. Check the unit regularly and clean it of dust and debris that can block airflow and cause overheating.
- Do not play your audio equipment at maximum volume all the time, as this will overload most components and cause them to fail.
Consider having your equipment professionally serviced (cleaning, software troubleshooting) to help you diagnose and identify potential problems early and avoid more serious failures. By following simple preventive maintenance procedures, you can reduce the risk of damage to your receiver’s channels and extend the life of your entire audio system.